


This article will take you through how to install phpMyAdmin on Rocky Linux 9/AlmaLinux 9. phpMyAdmin is a free and open source administration tool for MySQL and MariaDB written in PHP programming language.
You need a LAMP or LEMP stack installed on your system for phpMyAdmin to work.
How to install LAMP stack on Rocky Linux 9/AlmaLinux 9
Update your system
Run the command below to update your system.
sudo dnf update -yInstall phpMyAdmin
Download the latest phpMyAdmin using wget the command below.
wget https://www.phpmyadmin.net/downloads/phpMyAdmin-latest-all-languages.tar.gzNext, create phpmyadmin directory in the location below.
sudo mkdir /usr/share/httpd/phpmyadminCopy sample config.inc.php
sudo cp /usr/share/httpd/phpmyadmin/config.sample.inc.php /usr/share/httpd/phpmyadmin/config.inc.phpGenerate a string that will be inserted inside the config file using the following command.
openssl rand -base64 32Next, edit the config file using the following command.
sudo nano /usr/share/httpd/phpmyadmin/config.inc.phpThen enter the generated string inside $cfg['blowfish_secret'] = 'GeneratedStringHere'; e.g.
$cfg['blowfish_secret'] = 'zuCYBXNIasTAEWpVAefEWGcONo/SDw1sPRKQO8Jfhn8=';Below Directories for saving/loading files from serve add the following line. Close(ctrl+s) and save(ctrl+x) the file.
$cfg['TempDir'] = '/tmp';Sample output
/**
 * Directories for saving/loading files from server
 */
$cfg['UploadDir'] = '';
$cfg['SaveDir'] = '';
$cfg['TempDir'] = '/tmp';
Next, create a temp directory using the command below.
sudo mkdir /usr/share/httpd/phpmyadmin/tmpGive permission to the created directories.
sudo chown -R apache:apache /usr/share/httpd/phpmyadminsudo chmod 777 /usr/share/httpd/phpmyadmin/tmpCreate phpMyAdmin Apache config file
Run the following command to create the configuration file for Apache that will point to the location where phpMyAdmin is located.
sudo nano /etc/httpd/conf.d/phpmyadmin.confPate the config below into the file created above. Close(ctrl+s) and save(ctrl+x) the file.
Alias /phpmyadmin /usr/share/httpd/phpmyadmin

<Directory /usr/share/httpd/phpmyadmin/>
   AddDefaultCharset UTF-8
   <IfModule mod_authz_core.c>
     # Apache
     <RequireAny>
      Require all granted
     </RequireAny>
   </IfModule>
</Directory>

<Directory /usr/share/httpd/phpmyadmin/setup/>
   <IfModule mod_authz_core.c>
# Apache
     <RequireAny>
       Require all granted
     </RequireAny>
   </IfModule>
</Directory>
Use the command listed below to give SELinux permission.
sudo chcon -Rv --type=httpd_sys_content_t /usr/share/httpd/phpmyadmin/*Restart the Apache server.
sudo systemctl restart httpd.serviceAccess phpMyAdmin Web Interface on Rocky Linux 9/AlmaLinux 9
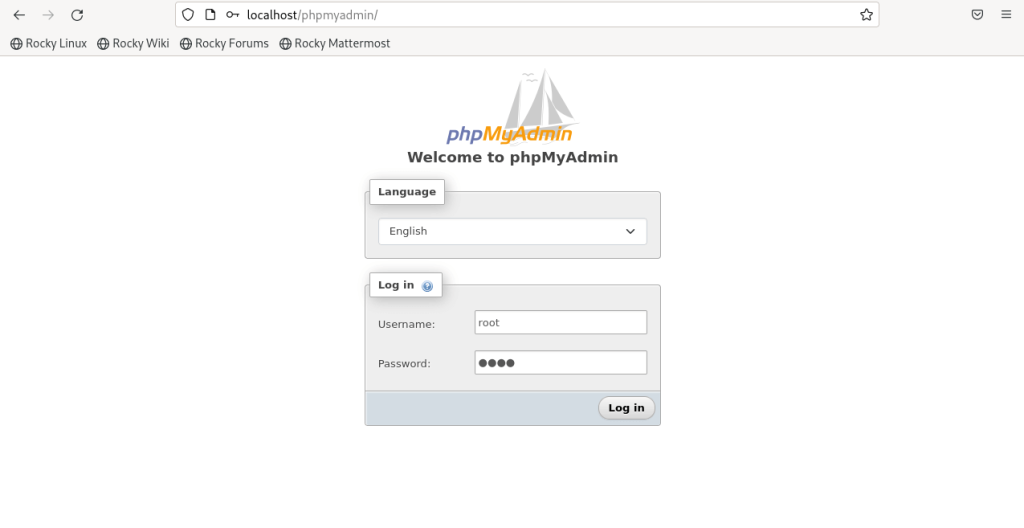
Open your browser and enter server IP or domain name slash phpmyadmin e.g. 192.168.0.1/phpmyadmin or localhost/phpmyadmin enter your username and password for your MySQL or MariaDB to log in.
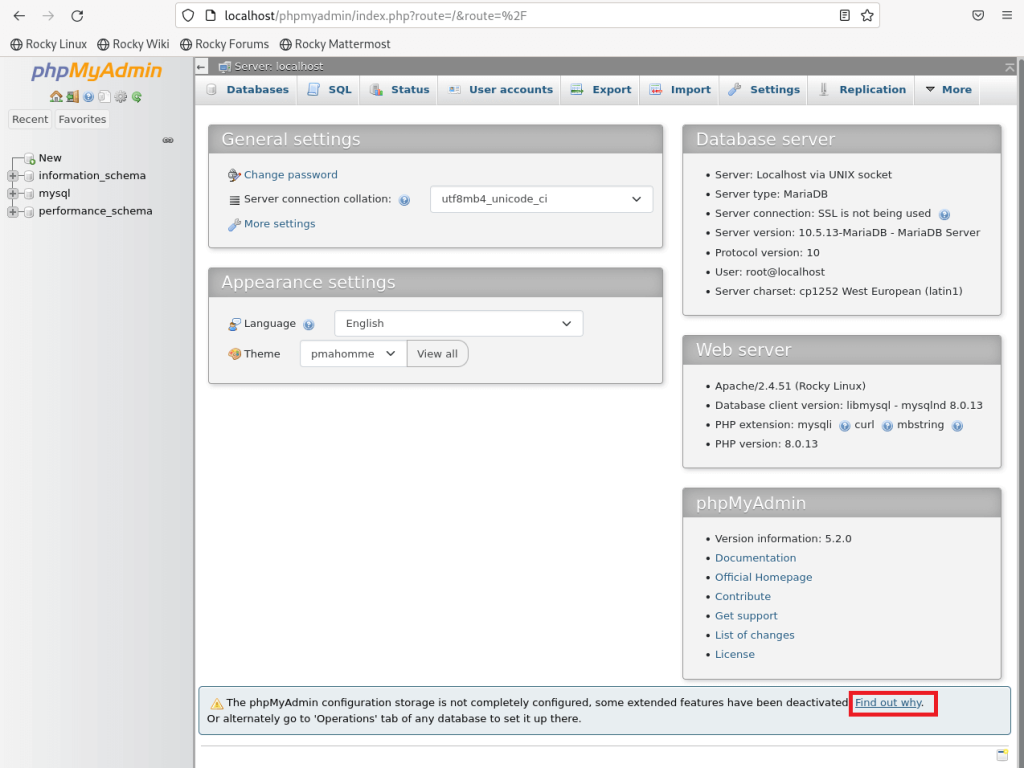
Sample phpMyAdmin dashboard.

Click on Find out Why to create phpMyAdmin default database.
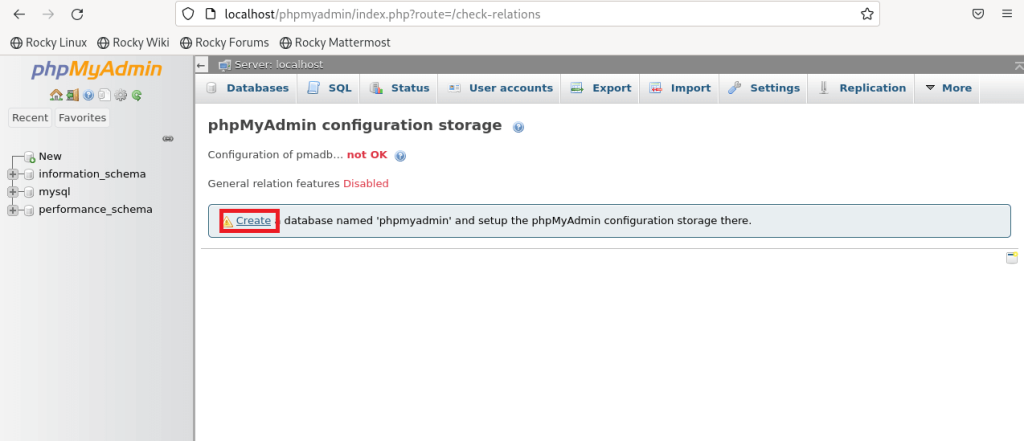
Next, click on create as shown below.
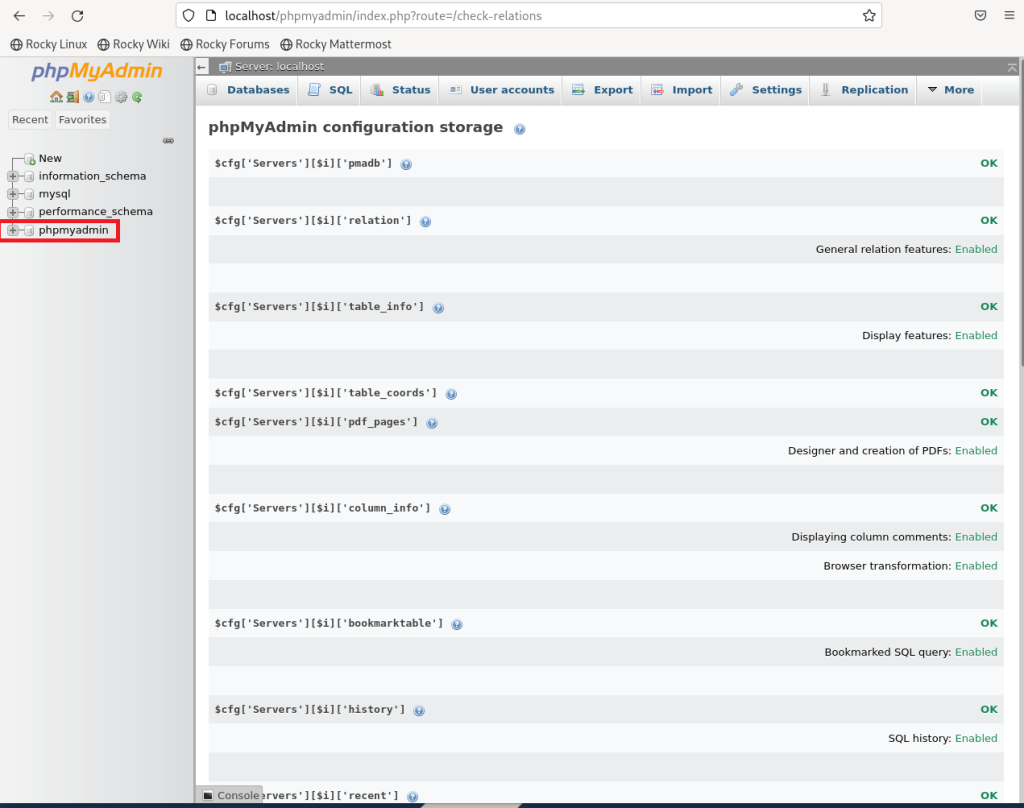
Your database will be successfully created.
That concludes our guide on how to install phpMyAdmin on Rocky Linux 9/AlmaLinux 9. Cheers!
Read more on phpMyAdmin Documentation
Other Tutorials
How To Install LAMP Stack on Linux Mint 21
